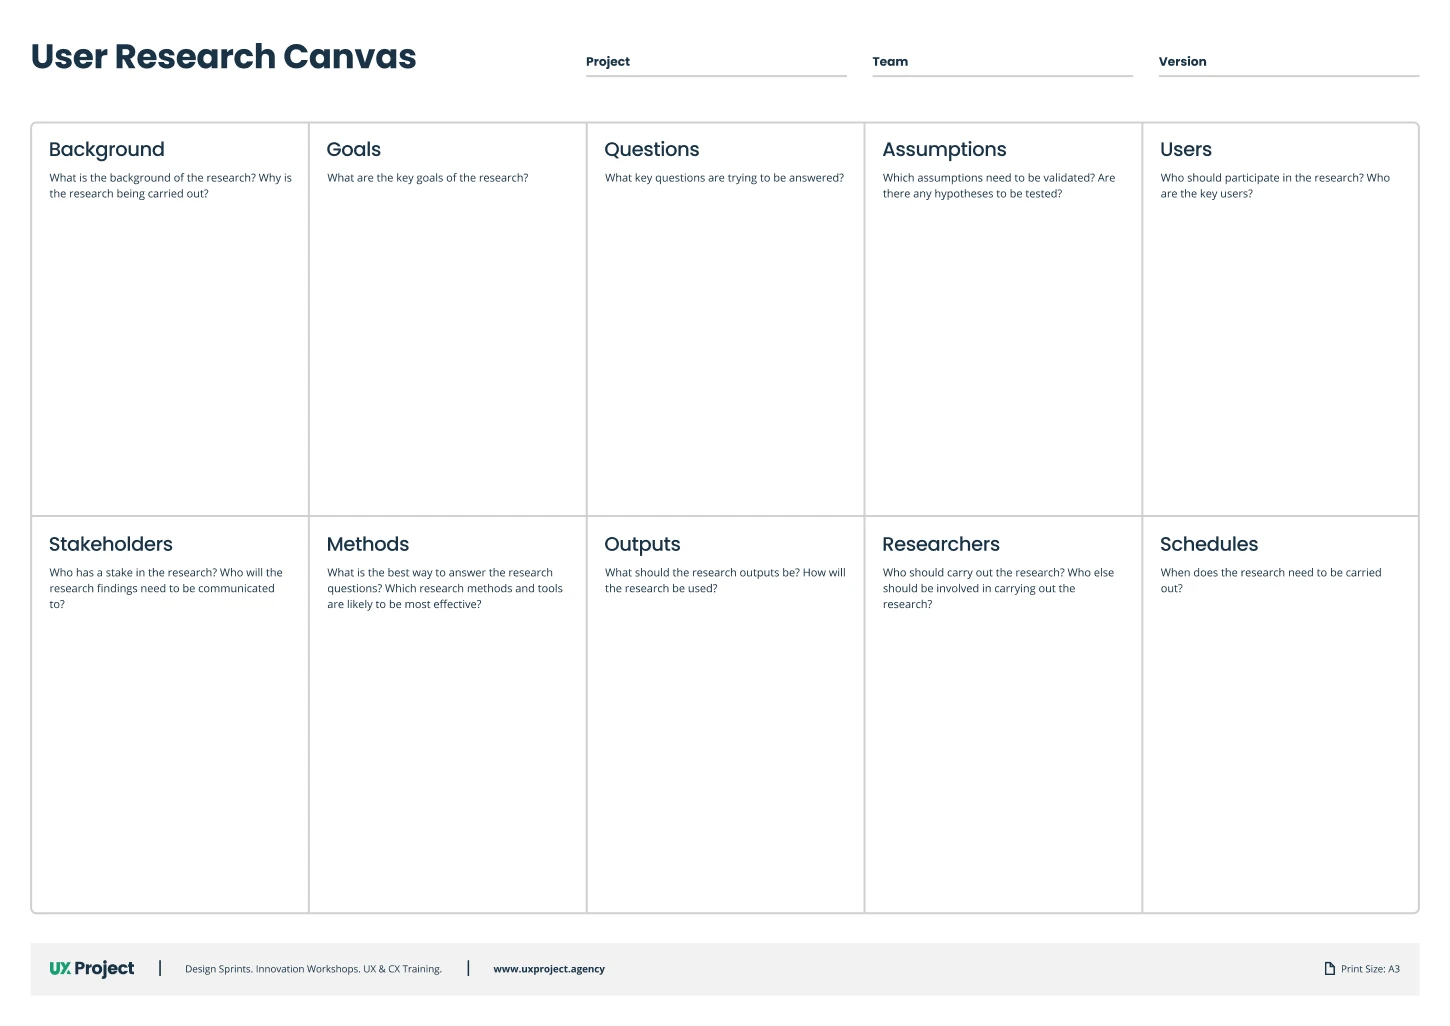
Step 1 - Define Your Goal
Before jumping into usability testing, ask yourself:
- What do you want to learn?
- Which part of the user experience are you testing? (Onboarding, checkout process, navigation, etc.)
Establish clear objectives. Are you trying to identify usability issues, understand user behavior, or validate a new feature?
Step 2 - Choose The Right Participants
The people you test should reflect your target users. You don’t need a massive group; 5 to 7 participants can uncover 80% of usability issues. Look for:
- Diversity in age, skills, and backgrounds (as long as they reflect your user base).
- Familiarity with your product (Are they experienced users or first-timers?).
Make sure you choose participants who are not part of your development team to ensure unbiased feedback.
Step 3 - Create User Personas
The people you test should reflect your target users. You don’t need a massive group; 5 to 7 participants can uncover 80% of usability issues. Look for:
- Diversity in age, skills, and backgrounds (as long as they reflect your user base).
- Familiarity with your product (Are they experienced users or first-timers?).
Make sure you choose participants who are not part of your development team to ensure unbiased feedback.
Step 4 - Prepare Your Prototype or Product
Make sure the version of the product you're testing is functional and ready for interaction. If you're testing a new feature or concept, a clickable prototype made in tools like Figma or InVision will suffice. Ensure that the product or prototype is easy to navigate for testing purposes.
Step 5 - Conduct The Usability Test
During the test:
- Watch, don’t help. Observe how participants complete the tasks without giving them instructions. It's important to see where they struggle and how they solve problems on their own.
- Encourage Think-Aloud Protocol. Ask participants to verbalize their thoughts as they complete tasks. Hearing them explain their thought process can reveal hidden frustrations or misunderstandings.
- Record their interactions. Use screen-recording software (or just take notes) to document how participants move through the product, where they get stuck, and their overall ease of use.
Step 6 - Analyze The Results
Once the test is over, analyze the data:
- Identify trends. Where did most users struggle? Which tasks caused confusion or frustration?
- Look for patterns in user feedback. Were there common misconceptions, missed clicks, or overlooked features?
Highlight areas that are pain points and prioritize them based on impact.
Step 7 - Make Changes And Iterate
Based on your findings, work with your team to prioritize fixes:
- Adjust any major usability issues, like confusing navigation, unclear buttons, or complex forms.
- Test again! Usability testing should be a continuous process, especially as you make improvements to your product.
Step 8 - Report The Findings
Create a Usability Report that summarizes:
- Key findings from the test
- Actionable recommendations for improvement
- The priority level of each issue (e.g., must-fix, nice-to-have)


